Note: If you are only going to read from the Google Sheets document, and not edit or write data to the document, you can skip the process of making a Service Account. The only requirement is that the Google Sheets document is shared such that anyone with the link can read the document.
Create a Service Account
In this tutorial, we will be creating a Service Account, a user account that’s created to interact with a specific piece of software or service. In our case, this specific piece of software is the Google Sheets API. You can then reuse this Service account for other apps made with App Inventor.
1. Create a Google Developer Account
The first step to use the Google Sheets API is to create a Google Developer Account. A Google Developer Account is a Google Account that is activated to use developer tools, so if you have not already done so, begin by navigating to https://www.google.com and create a google account. Once you have done so, navigate to https://developers.google.com and sign in to your desired Google Account. This does not need to be the google account which will own the Google Sheets that you intend to use.
2. Create a Google Developer Project
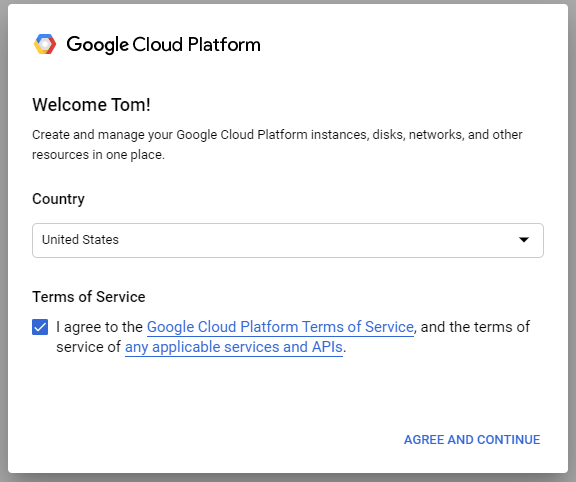
Our next step is to create a coding project. Once you have logged into your Google Developer Account, navigate to https://console.developers.google.com/. If this is your first time using your Google Developer Account, you will be prompted to agree to the Terms of Service. Check the box and continue.
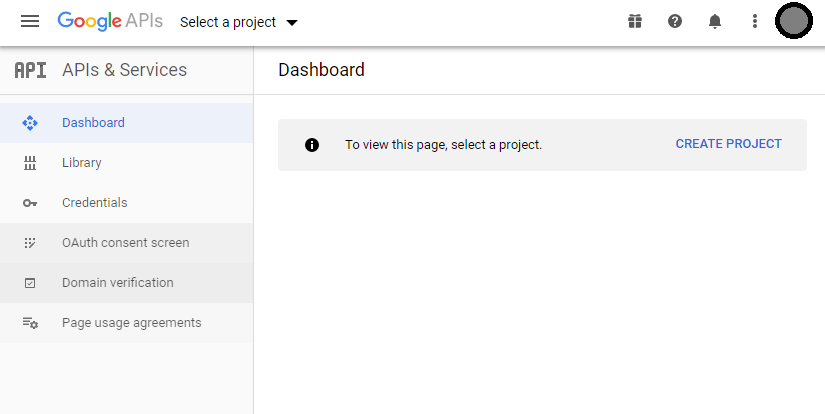
Next, you will be on the Developer Dashboard. If you have not created a project before, you can create your first project by selecting [CREATE PROJECT].
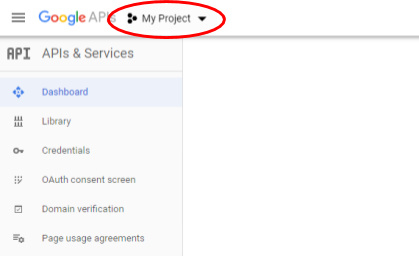
If you are using an existing Developer Account and already have a Project, you will be on a Project’s Dashboard. To create a new Project, click on the drop down menu at the top of the webpage.
At the top of the pop-up menu, select NEW PROJECT.
On the Creation page, give the project a name. For this tutorial, we will name it “App Inventor.” We don’t need to provide an organization, so we will leave it as No organization.
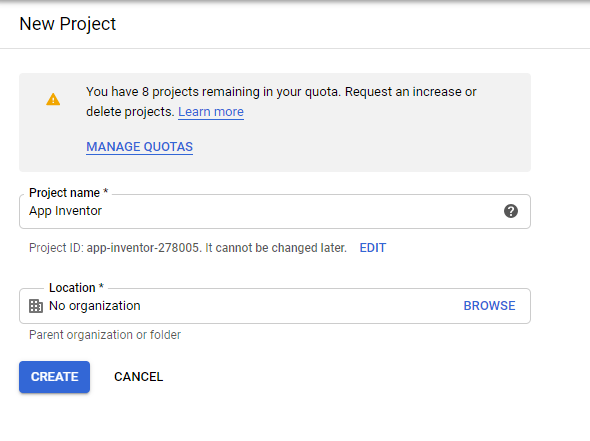
Click ‘Create’ to finish creating the project.
3. Enable the Google Sheeets API
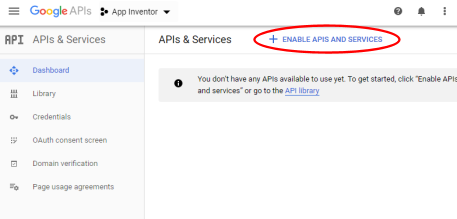
The next step is to enable the Google Sheets API for your project. Click on the “+ Enable APIs and Services” button next to APIs & Services.
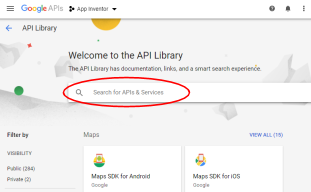
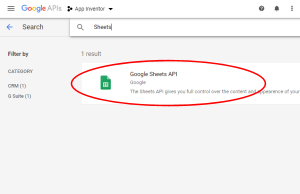
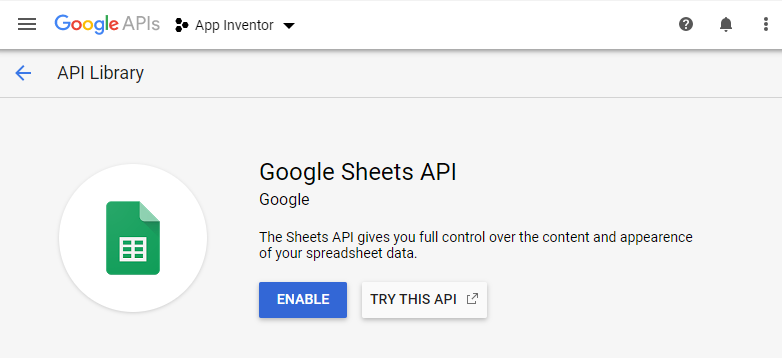
Enter in the search bar “Google Sheets API” and select the resulting API that appears. Then click the Enable button for the API Library.
4. Creating a Service Acccount
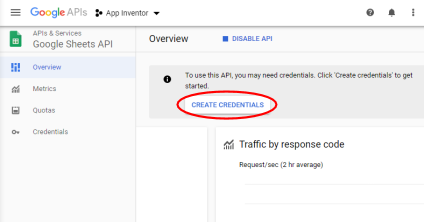
Now that we have enabled the Google Sheets API for this project, we want to create a service account. Simply put, this service account will look a lot like a google email account. After selecting the ‘Enable’ button for the Google Sheets API, you will be sent to the Overview tab for the Google Sheets API in your project. To the right of the screen, click ‘Create Credentials’ to get started with creating the Service Account.
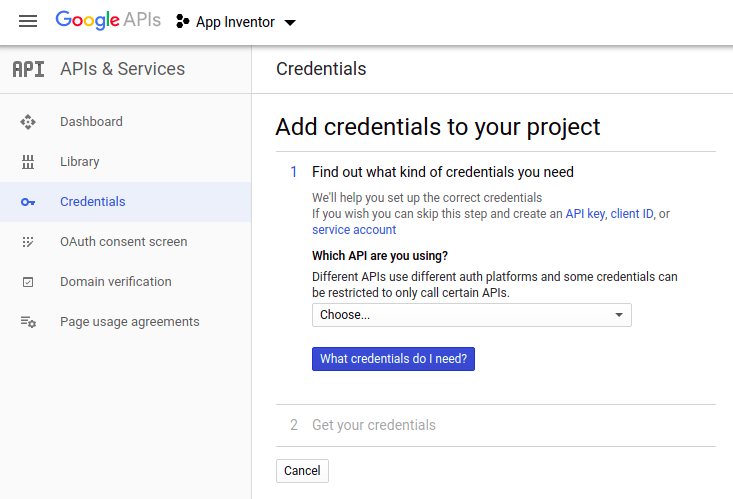
On the next page, we are presented with a guide that will ask various questions about what kind of project we are making. In the first drop down menu under ‘Which API are you using?’, select the Google Sheets API.
After you select that, a follow-up question will appear below. Under the question “Where will you be calling the API from?”, select Other UI. Finally, under what data will you be accessing, select Application Data.
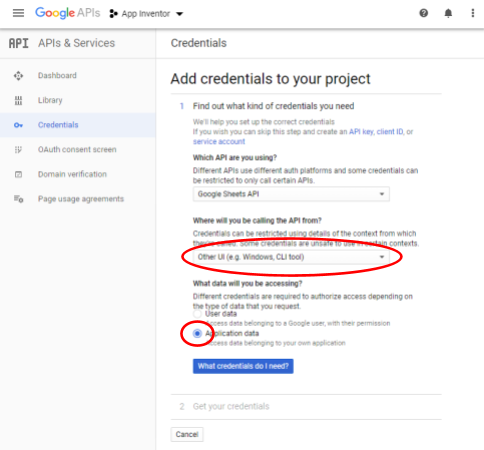
After entering the above information, click on the blue button labeled “What credentials do I need?” This will take you to the second part of creating the credentials. This part will allow you to customize the service account and should look like the figure below.
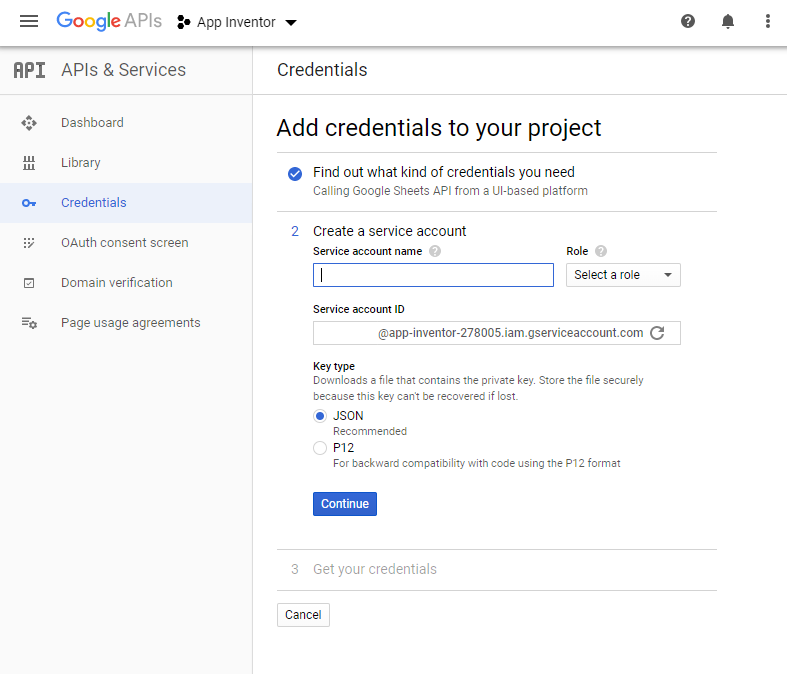
The name of the service account is not important. For this tutorial, I will name it “example-service.” You then set the role to Selecting Project > Editor, which should provide this service account with enough permissions. Make sure to save the entire text in the box labeled Service Account ID. You should notice that this will look a lot like an email address. You will want to copy this Service Account ID someplace so that we can use it later.
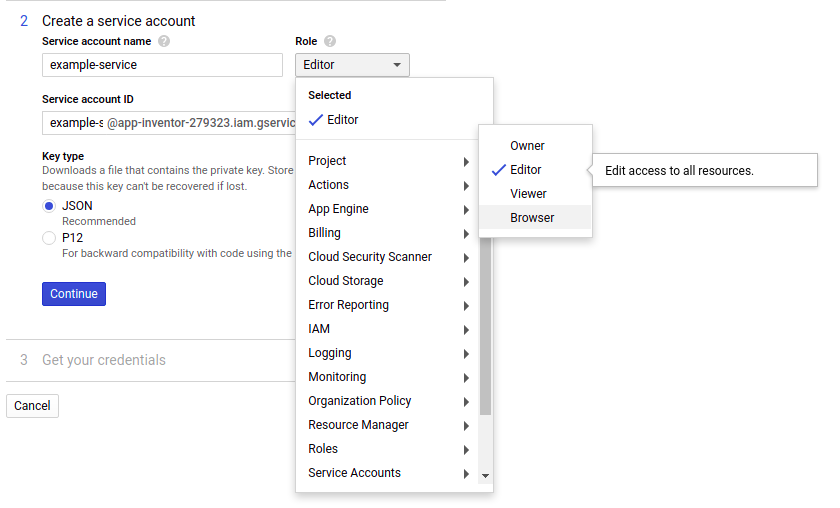
Make sure that “JSON” is selected under Key Type like it is above before pressing ‘Continue’. This will download a JSON file with the name “AppInventor-####.json.”
When using the Google Sheets API component, we will upload this json file in order to work properly. Make sure to keep this JSON safe!
Linking the Google Sheets Document
Now that we have created a Service Account, we want to provide the service account access to the Google Sheets files we will or read from.
1. Create the Google Sheets Document
The first step, if you haven’t already, is to create a Google Sheets document. The name of the Google Sheets document can be anything you’d like. If you already have a Google Sheets file you would like to use, then simply go to your Google Drive and navigate anywhere you would like to create the document. Then click New and select New Sheet.
2. Share the Google Sheets Document
After you have created the Google Sheets file that you would like to use, you simply need to share the Google Sheets file with the service account email we saved from earlier. This will provide the service account with the permissions you need. You can specify whether the service account can only read the data or whether the service account can read and write the data by changing the permissions between Viewer and Editor respectively.
3. Record Relevant Information
Finally, there are a handful of pieces of information about the google sheets document which you would need to record in order to properly access the file. You can also use this portion of the instructions as a reference for where to find the information later.
You can read more about these terms here.
The Spreadsheet ID
The spreadsheet ID can be found in the url of the Google Sheets Document. The url of the Google Sheets Document is typically in the form:
https://docs.google.com/spreadsheets/d/<Spreadsheet ID>/edit#gid=<Grid ID>
The spreadsheet ID corresponds to the ID of the Google Sheets File.
The Sheet Name
Within a spreadsheet are individual sheets, each of which have unique titles and ID numbers. In this component, the title of the page is called the sheetName.
A single spreadsheet document can have multiple pages. By default, when you create a new Google Sheets document, the spreadsheet has a single page with the name “Sheet1”. You can find this in the tabs at the bottom left corner of the screen like so:

You can add a new page to the document by pressing the “+” symbol. Doing so will create a new tab next to Sheet1 that will read Sheet2.
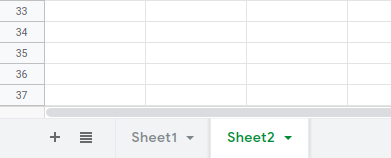
Each block in the Google Sheets Component will ask you to specify the title of the page (or the “Sheet Name”) you want to read from or edit. For example, if I want to edit values on Sheet2, then I would provide the text “Sheet2” in the sheetName slot.
Additionally, you can rename the sheet to whatever you’d like by right clicking on the tab and clicking rename. Note, doing so would require that you change the sheet name in the project as well to match.
The Grid ID
Similarly to the sheet name, this is used to refer to which page you would like to edit. However, unlike the sheet name, the grid ID cannot be customized by the user. Certain blocks require that the grid ID is provided instead of a sheet name. To find the grid ID, navigate to the page you want to reference by clicking on the tab. In the URL, you should see that the end should have “gid=” followed by a number.
https://docs.google.com/spreadsheets/d/<Spreadsheet ID>/edit#gid=<Grid ID>
Debugging Tips
Unable to resolve host "oauth2.googleapis.com"
If you get this error message, double check your device’s connection to the internet. This is a sign that the Android networking subsystem can’t resolve the hostname, so it’s not able to talk to DNS.
Attempt to invoke virtual method … on a null object reference.
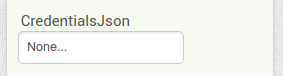
If you get this error message, double check that you have linked your credentials in the designer properties. If your Designer property reads “None…” like it says in the image below, click on the box and select the .json file you got from the Service Account setup steps.
Unable to parse range: ______
If you get this error message, there may be an error with the range that you provided. This could mean that the sheetName you’ve provided does not actually exist, or that the reference you provided is not valid A1-notation. To learn more about A1 notation, see this reference: https://developers.google.com/sheets/api/guides/concepts#a1_notation